How to encrypt your existing Roam Research graph
I've been using Roam Research for the past couple of years as my second brain/notebook and was excited when they announced support for encrypted hosted graphs.
And while we're coming up to a year since it was launched, there still isn't yet the ability through the Roam UI to convert an existing graph from an unencrypted one to an encrypted one.
If, like me, you want to transition an existing, unencrypted graph to an encrypted one, here's how you'd have to do it:
Export your existing graph in the EDN format
Roam allows you to export your graph as Markdown, JSON, or EDN, and in this case we want to use 'EDN' which is the format for lossless graph backups.
Go to the 3 dots on the top right corner of the Roam page, and select the Export All option:
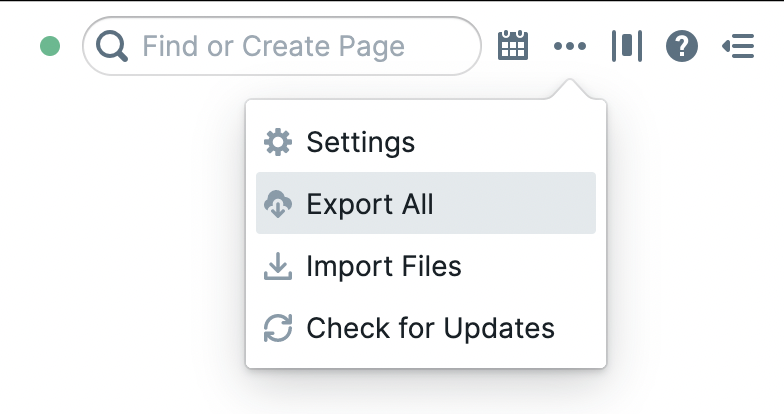
Select EDN from the dropdown menu and click Export All.
Once that's done, you should have a .zip file in the directory that you specified to download the file in. Unzip that file and you should see an .edn file.
Create a new encrypted graph
Go through the process of creating a new graph, and be sure to check the Encrypted checkbox underneath the text field for the graph name.
You'll need to provide a password, and be sure not to lose it because if you do, the Roam team will not be able to help you recover it or the data within the graph.
Import the EDN file in the new encrypted graph
Open the new graph that you've just created, and do the following:
- Go to the 3 dots on the top right corner of the Roam page
- Select Settings
- Select Graph on the left hand side
You should see something that looks like the following:
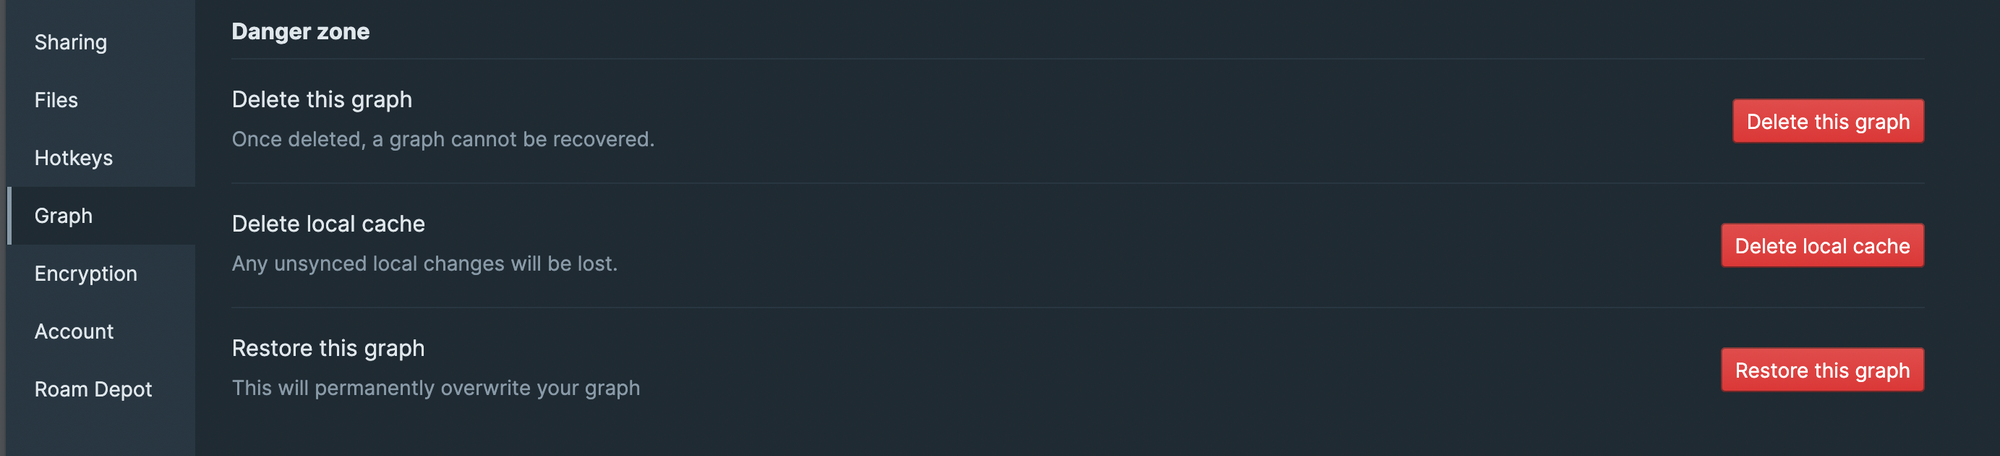
What you'll want to do next is select Restore this graph. Since this is a new graph you won't be overwriting any existing data with this operation, so this is safe to do.
Select the .edn file that you had downloaded and then go through the rest of the steps to confirm that you want to take that action.
Start the restore process
Be sure to click the 'Start' button on this window:
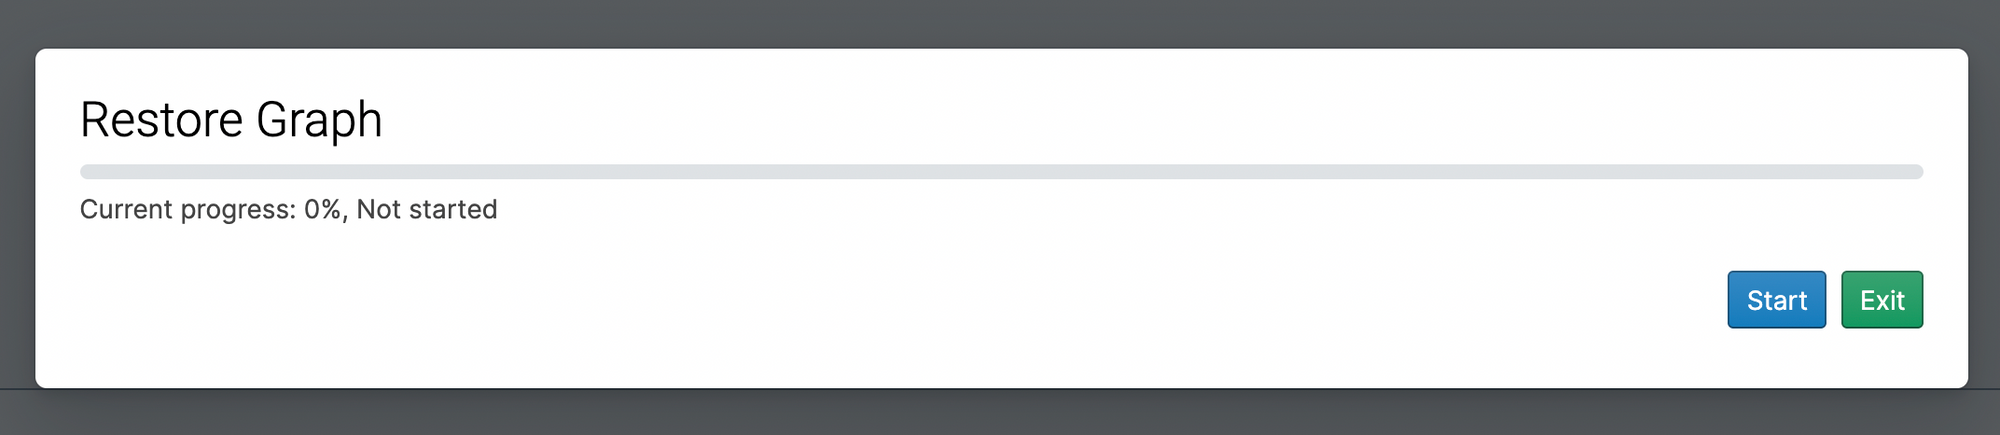
I personally didn't happen to notice that the extra step was needed until I returned to my computer 10 minutes later confused about why the restore had not been performed - I had thought clicking the previous ''I understand the consequences of this operation" would start the process. I suppose this extra step is one last measure of safety to confirm that you do want to overwrite all the data in the graph.
You're done!
Once the restore is complete, you will have migrated the data from your unencrypted graph into an encrypted one, and can delete the old graph if you wish.

Erica Pisani Newsletter
Join the newsletter to receive the latest updates in your inbox.